Setting up the Java development environment
In order to write code in Java and run Java programs, it is necessary to set up the Java development environment. This tutorial will guide you through the step-by-step process of setting up the Java development environment on Windows and Linux.
Install Java on Windows
Step 1. Download the JDK
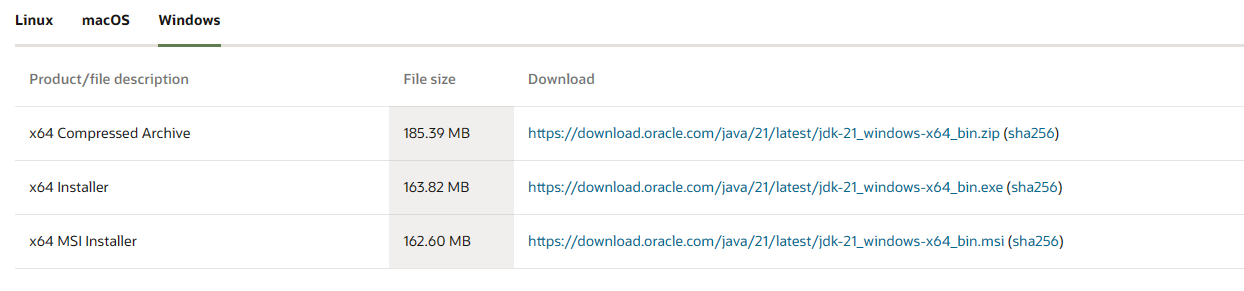
Visit the Official JDK Download Page: Go to the Oracle page
Select the Windows Version: Choose the Windows version suitable for your system (x64 Installer).
Download the Installer: Click the download link to get the JDK installer.
Step 2. Run the installer
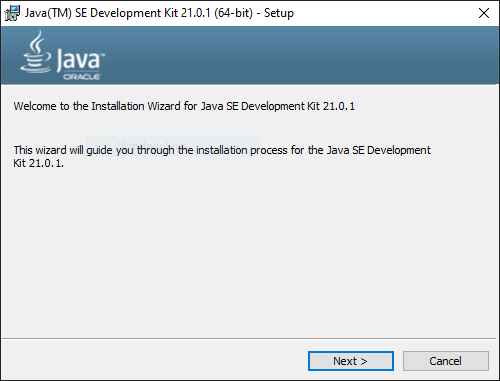
Run the Installer: Locate the downloaded file (e.g., jdk-XX_windows-x64_bin.exe) and double-click to run it.
Follow the Installation Wizard:
- Click "Next" to start the installation.
- Accept the license agreement and click "Next."
- Choose the installation location or leave it as default and click "Next."
- Wait for the installation to complete and click "Close."
Step 3. Add Java to your PATH
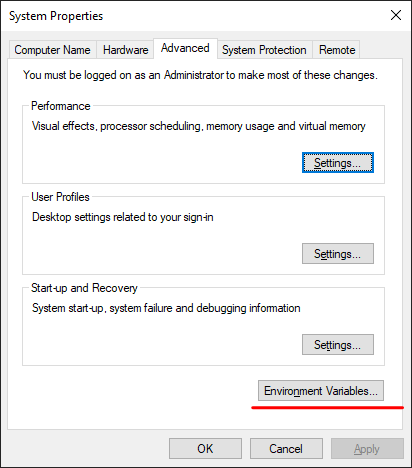
- Open System Properties:
- Right-click on "This PC" or "Computer" on the desktop or in File Explorer.
- Select "Properties."
- Click on "Advanced system settings" on the left sidebar.
- In the System Properties window, click on the "Environment Variables" button.
- Add JAVA_HOME Variable:
- In the Environment Variables window, click "New" under System variables.
- Set the "Variable name" to JAVA_HOME.
- Set the "Variable value" to the path of your JDK installation (e.g., C:\Program Files\Java\jdk-XX).
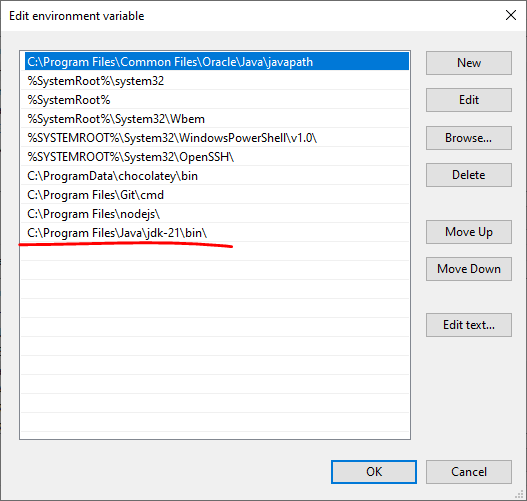
- Add the Location where Java was installed by the installer.
C:\Program Files\Java\jdk-21\bin\
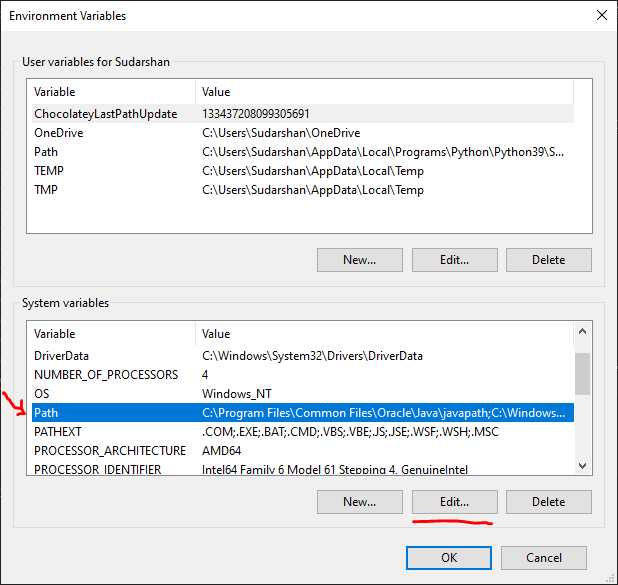
- Update the PATH Variable:
- In the Environment Variables window, find the "Path" variable in the System variables section and select it.
- Click "Edit."
- In the Edit Environment Variable window, click "New" and add %JAVA_HOME%\bin to the list.
- Click "OK" to close all windows.
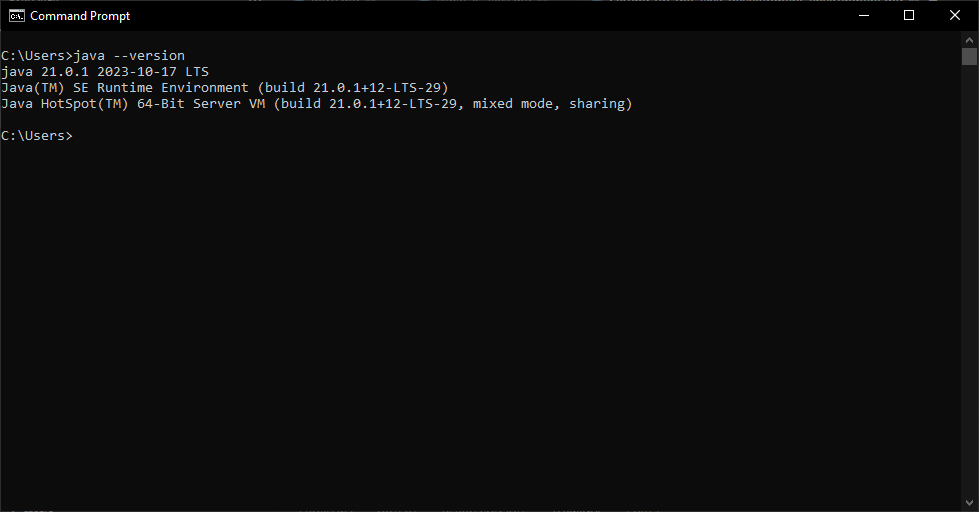
Step 4. Verify the Installation
Open Command Prompt:
Press Win + R, type cmd, and press Enter.
Check Java Version:
- Type java -version and press Enter. You should see the installed Java version.
- Type javac -version and press Enter. This checks if the Java compiler is installed correctly.
Install Java on Linux
The installation in Linux is fairly simple as compared to Windows. For this, you just need to open the terminal and paste the command.
sudo apt install default-jdk
This will download and install the Java in your machine and you are ready to go.